How to Start a Publication on Fika in 2026 (Blog & Newsletter Guide)
A platform where you write a blog for a human audience, send subscribers a newsletter, and build community.

Starting a blog or newsletter can feel overwhelming, especially when choosing a platform is already a hurdle. Writing today often comes bundled with algorithms, feeds, and constant pressure to produce more content, faster. It is a lot for anyone who just wants to write.
Fika is a platform built with humans in mind. In a world where more and more tasks are delegated to artificial intelligence, we put human writing and writing for humans first. Your voice, your work, and your relationship with readers. You own your content and your community, with no algorithms shaping what you write and no distracting social feed. On Fika, you create a publication, grow an audience of subscribers, and send your writing directly to their inbox.
In this article, we’ll show you how to start a publication on Fika.
Fika gives you everything you need to start writing
Your own publication
Your own email newsletter
Your own subdomain (your-name.fika.bar)
Unlimited subscribers
Unlimited image storage
Unlimited translation requests
Unlimited voice notes
Unlimited snippets
Unlimited proofreading requests
How to get started blogging on Fika
Starting out on Fika is easy. We’ve made onboarding simple so you don’t need to worry about setup being difficult.
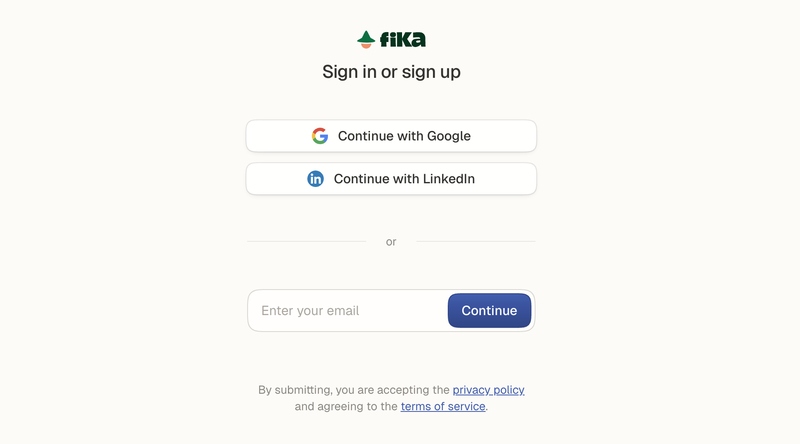
1. Create an account
The first step is to create your free Fika account. You can do this by clicking the link and choosing how you want to create your account. Follow the instructions to create your Fika account. If you use email to sign up, you will be asked to submit a 6-digit code sent to your email inbox.
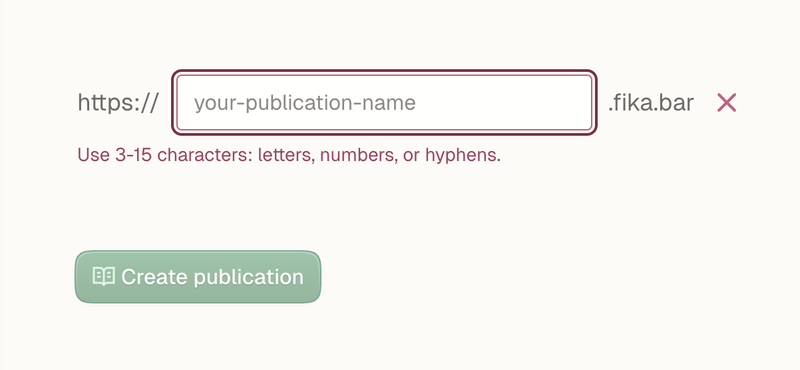
2. Name your publication
Now for the fun part. The second step is naming your publication. Choose something that describes you.
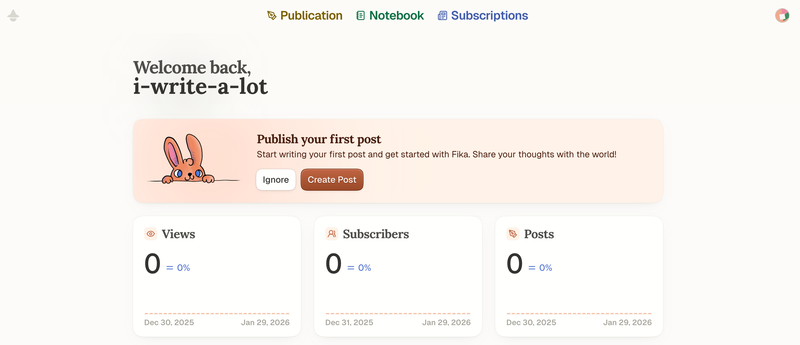
When your account is ready, you will be taken to the main Fika dashboard. Congrats on starting your journey on this growing platform!
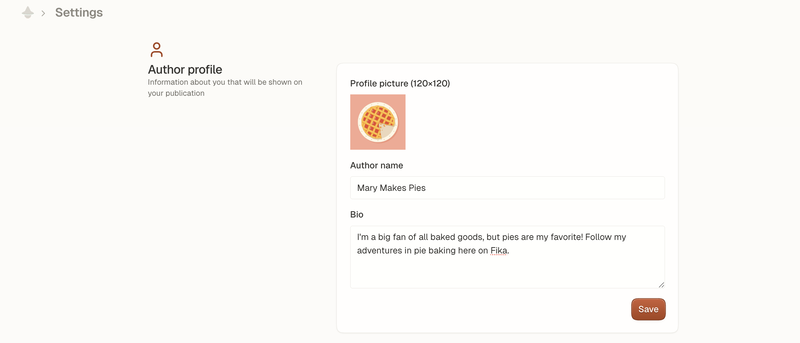
3. Personalize your account
Finish setting up your account by going to “Settings” in the top right corner and adding as much personal detail as possible. This will help your readers know what to expect from you and set you apart from other Fika writers. Be sure to hit save when finished.
Scroll down in Settings to set your preferred language. By default, it will be set to English. This step is important for our auto-translation tool to work properly. You will see all translated posts in the language of your preference.
Still in Settings, add your social media links. This will make sharing your content and growing your audience across all channels easier.
Once you’ve set up your Fika account, you are ready to start exploring our writing features!
Start a blog on Fika in the Publication tab
From the main dashboard, you will see three tabs: Publication, Notebook, and Subscriptions.

We’ll look at all three tabs, but to begin, click on Publication. You’ll be taken to where your writing will come to life.
1. Start a new post
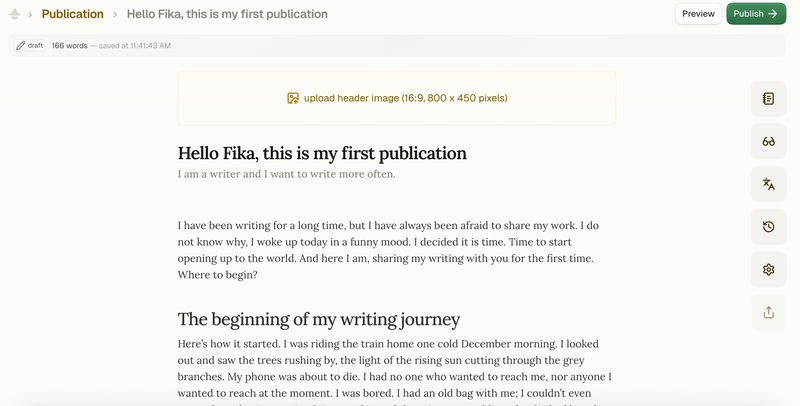
2. Add a header image
At the top of the page, upload a header image. Choose an image that fits the parameters for the best results. A header image can be used to illustrate or decorate your article. The header image is also how your post appears as a thumbnail when shared on social media and across other pages on Fika.
3. Add a main headline and subtitle to your blog post
The main headline will be the title of your post. You can add something that grabs the reader's attention and makes them want to read on. The subtitle can add more context or pose the main question you will be exploring in your writing.
Fika’s tools help polish your text
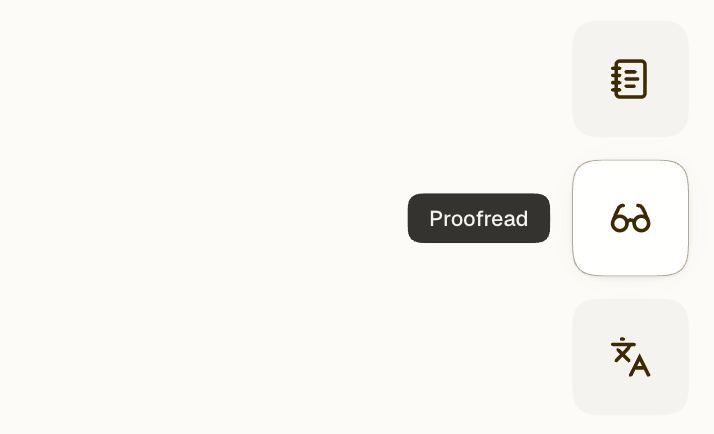
Once you have written your article, you can use the set of tools in the panel on the right-hand side of the screen.
Many writers will find our proofreader particularly useful for polishing a text before publishing it. Another great feature is our auto-translation tool, which could help you reach a wider global audience by automatically translating your text to half a dozen different languages.
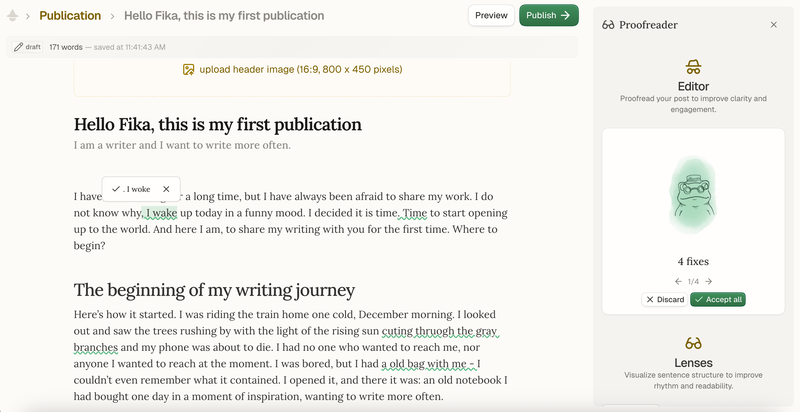
1. Proofread your text
Fika has several tools within the Proofreader that can help you fix grammar mistakes, tighten your writing, and revise your phrasing to improve the flow of your text.
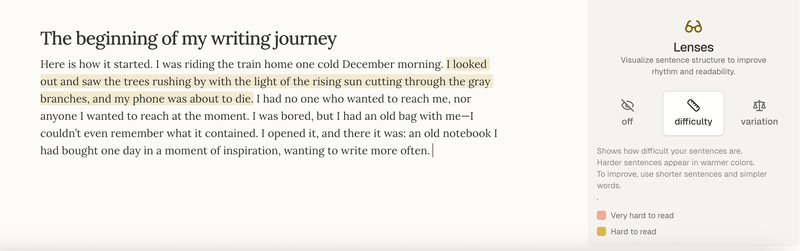
You can also use our Lenses to visualize sentence structure to improve rhythm and readability. These tools show reading difficulty and variation in your sentences.
2. Translate your article
Once you’ve polished your text, you are ready to translate your article into your chosen language.
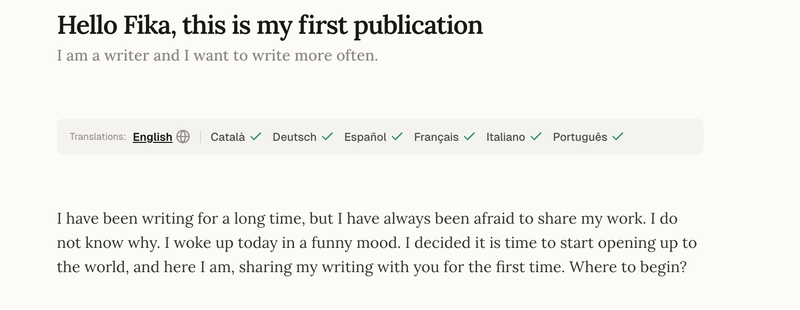
Offering readers the option to view your article in their preferred language helps reach a wider audience. After adding translations and saving your article, it is time to publish and share.
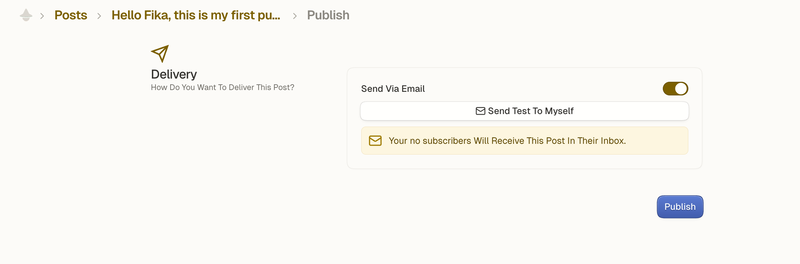
3. Publish and share your article as a newsletter
Click Publish in the top right corner to make your new article public. You also have the option to share your publication by email. Make sure to send a test version to yourself before delivering your article to your subscribers' email inboxes. That way you can check whether your article looks the way you intend it to.
Share your work on social media after publishing
After publishing a post, you’ll see a new sharing screen designed to make distribution easier. This screen helps you quickly preview how your post will look when shared and makes it easier to share your content across social platforms right after publishing.
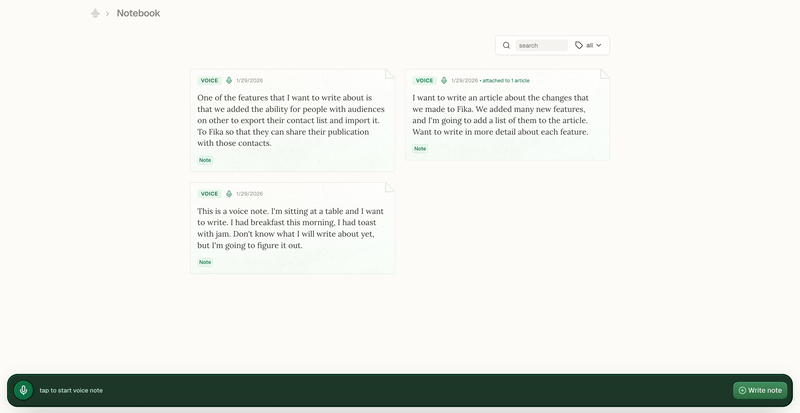
Record voice notes and transcribe them using Notebook
The next tab you can access from the main dashboard is the Notebook. It is perfect for jotting down ideas on the go, recording voice notes and transcribing them, and collecting all of your thoughts in a single place. This way, you will never run out of ideas to write about!
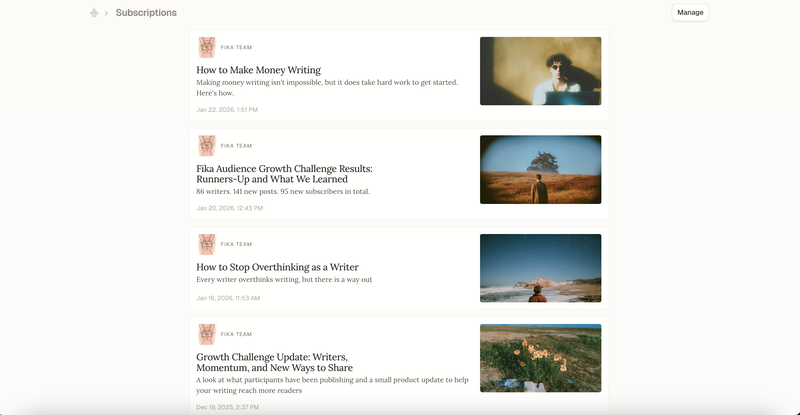
Browse publications to read in your Subscriptions tab
The third tab you can access from the main dashboard is where you will find the newest posts from your Subscriptions.
Fika has even more tools for writers who want to grow their following
Fika also has many features designed to help you understand who is reading your publication and help you reach more people organically.
Do you already have subscribers on another platform?
You can now import and export your contacts on Fika. This makes it easier to bring your audience from other platforms, manage your subscriber list, and keep full control over your data.
Understand your audience
We’ve introduced Audience view, giving creators a clear way to see and manage their subscribers in one place. It helps you understand who is reading, who is subscribed, and how your audience is growing.
Get started and grow your audience on Fika!
Start writing today. Share your work, grow your following, and help us create a community on Fika filled with readers interested in human ideas, human insight, and human experience. Create your account and start writing in less than five minutes.

Comments
No comments yet. Be the first to comment!